Migrating Your Local Server to a Dedicated Server
Migrating Your Local Server to a Dedicated Server
Valheim World Migration Guide
So you started a Valheim world on your PC and you invited all of your friends to play on it too! But suddenly you had to go, and the server went away with you. Luckily, you found you can have a dedicated Valheim server on NoobHost so that your friends can play whenever they want! But you don't want to lose all the work you put in. Luckily, migrating from your local world to NoobHost is super simple!
Overview
This guide explains how to migrate a locally hosted Valheim world to a dedicated server so it can run continuously and be accessible to others.
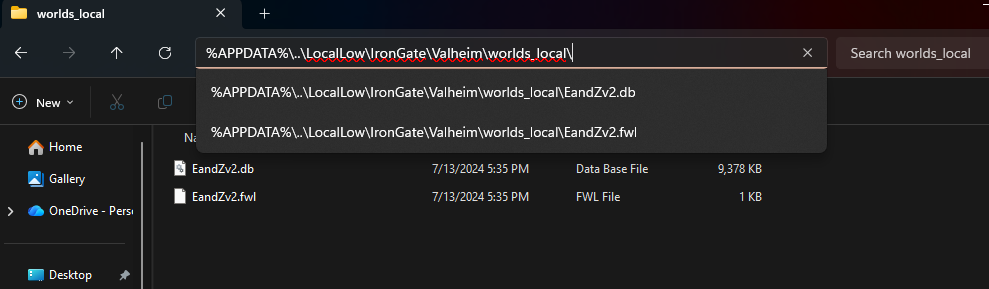
Step 1: Locate Your World Files
Your Valheim world consists of two files:
- YourWorldName.db (world data)
- YourWorldName.fwl (world metadata)
Windows
C:\Users\
or
%APPDATA%\..\LocalLow\IronGate\Valheim\worlds_local\
Linux Location
~/.config/unity3d/IronGate/Valheim/worlds_local/
Step 2: Handle Steam Cloud Saves (if applicable)
If your world is not in worlds_local, it may be stored in the cloud. You'll have to pull that world from the cloud onto your local machine.
Steps:
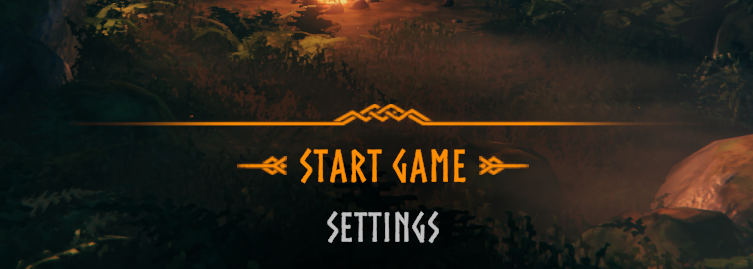
- Launch Valheim
- Click "Start Game"
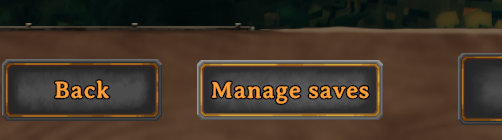
- Click "Manage Saves"
- Locate your world. Note that the floppy save icon means the world is stored locally, the cloud icon means it was saved to the cloud. It needs to be saved locally to transfer the world.
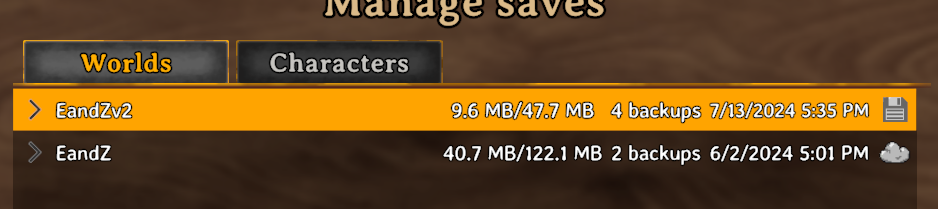
- Move it from Cloud to Local
Step 3: Upload Files to Your Dedicated Server
Copy the following files to your server:
- YourWorldName.db
- YourWorldName.fwl
Make a note of your world name here, it'll be important later!
Go to Manage on your Campaign for your Game Server.
In the game manager panel, go to Files at the top and navigate to .config > unity3d > IronGate > Valheim > worlds_local
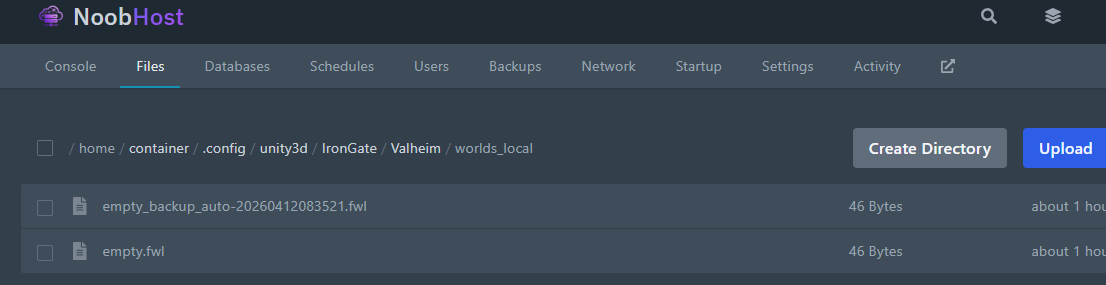
Upload both of your world files here by clicking the Upload button and navigating to the local world directory (the same location as Step 1).
Step 4: Configure the Server Startup
Click on the Startup tab at the top and scroll down until you see the "World Name" variable. Change this to the name of your world file without the extension (If your file is named YourWorldName.db, put in YourWorldName in the box).
Step 5: Restart the Server
Go to the Console tab and hit Restart.
Step 5: Verify
Start the server and confirm:
- The server is visible in the server list or via direct connect
- Your world loads correctly
- Existing structures and terrain are present
Common Issues
World not loading or a new world is created:
- Check that .db and .fwl filenames match exactly
- Confirm the World Name in Startup is correct.
Mods not working:
- Ensure the same mods are installed on both client and server
Additional Note
You can have multiple worlds on a single server and just switch between them by changing the World Name in the Startup tab to the other world name and restarting the server!
Summary
- A Valheim world is stored in two files: .db and .fwl
- Upload both files to the server
- Ensure the server startup references the correct world name